
Are you looking for a way to memorialize your pregnancy with photos, but can’t afford to hire a professional photographer?
Going through those beautiful maternity images on Pinterest can leave you feeling like you’re left out if you don’t want to invest in a professional photoshoot. But it’s still possible to document your growing bump and capture stunning images with your iPhone from the comfort of your home.
Here’s a detailed guide on how to take DIY maternity photos using an iPhone.
Tips on DIY Maternity Photoshoot Basics
It can be overwhelming trying to figure out where to start when taking your photos.
Below are a few tips to help you out.

Decide on a Location and Figure out the Lighting
Having your phone fully charged is essential. However, you need to first decide on the location.
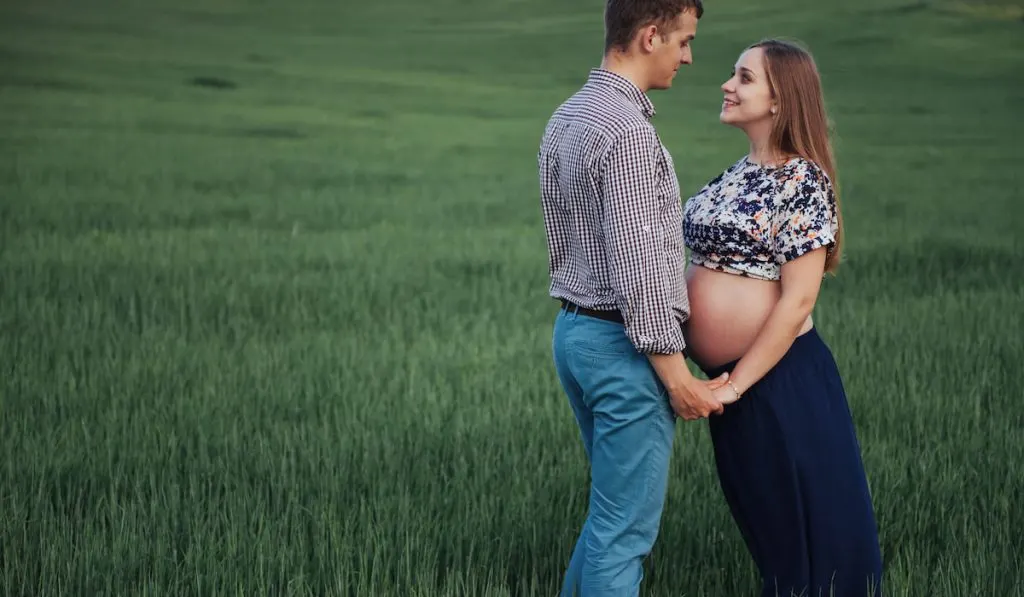
Are you more of an indoors person or do you prefer an outdoor setup in the woods or near a body of water? Knowing the spot that you’re most comfortable in will help you create the best shots.
More importantly, you also need to check the lighting as it’s even more essential than the location.
An indoor shoot will require an ample amount of window light. Turning on the floor or overhead lamps can cast an orange look on your photos. Experiment with different spots and decide whether you want cool or bright photos.
Make sure that the background is clutter-free if you are not using a backdrop. If you do plan on using a backdrop, consider getting a neutral or white backdrop.
Furthermore, you can take backlit photos. When using an iPhone, you can increase the brightness to avoid the photos turning out dark.
Pick the Right Outfit


You should pick an outfit depending on where you’re planning to take the photos and the kind of silhouette you’re looking to achieve. Think of how you want your photos to turn out.
For example, a tight outfit works best if you’re planning on showing the outline of your bump.
If you plan on taking outdoor photos near a pool or a lake, wear a lightweight and flowy outfit to get the best effect in your photos.
There are plenty of maternity gowns for hire online. Try to experiment with different textures and colors before settling on an outfit.
When picking an outfit, avoid black or white outfits as they can be challenging to photograph if you don’t have enough lighting. Also, certain patterns and prints may warp on the screen. Go for bold accessories if you would rather avoid clothes with solid colors.
Have Your Makeup Done
Despite it being a DIY maternity shoot, you still want to look and feel your best.
Ensure that you have your hair and makeup done. You could do the makeup yourself or have a professional do it for a fee.
Tips on Staging a DIY Maternity Photoshoot
After figuring out your lighting, outfit, and makeup, it’s time to now determine the right staging for natural-looking photos.
Below are a few staging tips.


Determine the Mood or Theme You Need to Capture
A vision board is a great way to plan all the theme details you intend to create.
Pinterest and Instagram have plenty of inspiration if you’re not sure of the kind of theme you’re looking to capture. You can decide to be playful and cheeky or stick to an intimate and chill mood.
Get inspiration from what you love and what makes you feel beautiful. Understanding the theme will also help you pick out the right outfit, hair, makeup, and background.
Get the Props Ready
Props not only add visual interest to your photos but also contribute to natural-looking photos.
If you’re planning on adding props to your shoot, prepare them in advance. You can use fresh flowers, an ultrasound photo, baby shoes, or whatever you prefer. String lights can act as a backdrop for your photos.
You’ll notice that on most Pinterest photos, anyone doing an activity appears more natural, which makes it simpler to take stunning photos.

Tips on DIY Maternity Photo Posing
Posing for maternity photos can be overwhelming at first, but with some inspiration, you’ll find it natural to find the best poses.
You can mimic poses on Pinterest and save some screenshots for when you run out of ideas.
Here’s what you need to know about posing for your DIY maternity photos.
Move Your Body
Most people make the mistake of moving their phone camera to get the right pose. However, it’s advisable to move your body rather than change the camera’s position. That will give you a natural look.
You can look down on your bump, stand sideways, or place one foot at the front in a tippy-toe position to give the illusion of a bent knee.
Position the camera slightly down and emphasize the curve of your back to create a silhouette.
Adjust Your Angles
Play around with your face, neck, and chin. Adjusting your face in different angles will give you plenty of photo options to choose from.
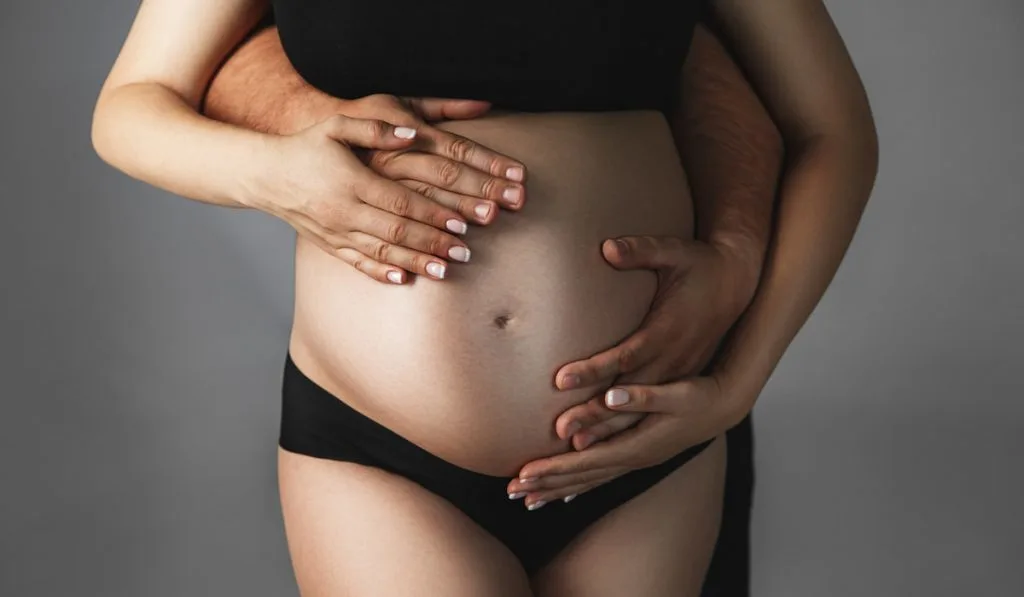
Use Your Hands
You can choose to have both hands under your bump or on top of your bump. Alternatively, you can have one hand on top of your belly and another under.

Setting Up Your iPhone for a DIY Maternity Photoshoot
It’s still possible to get beautiful maternity shots with your phone without incurring the extra cost of a professional photographer.
Here’s everything you need to know to capture those stunning shots.
Use the Back Camera
Avoid using your iPhone’s front camera as it’s set to selfie mode. Use the back camera for high-quality photos.
The back camera also gives you higher resolution photos that you can easily print out. Turn off the flash and instead use natural light.
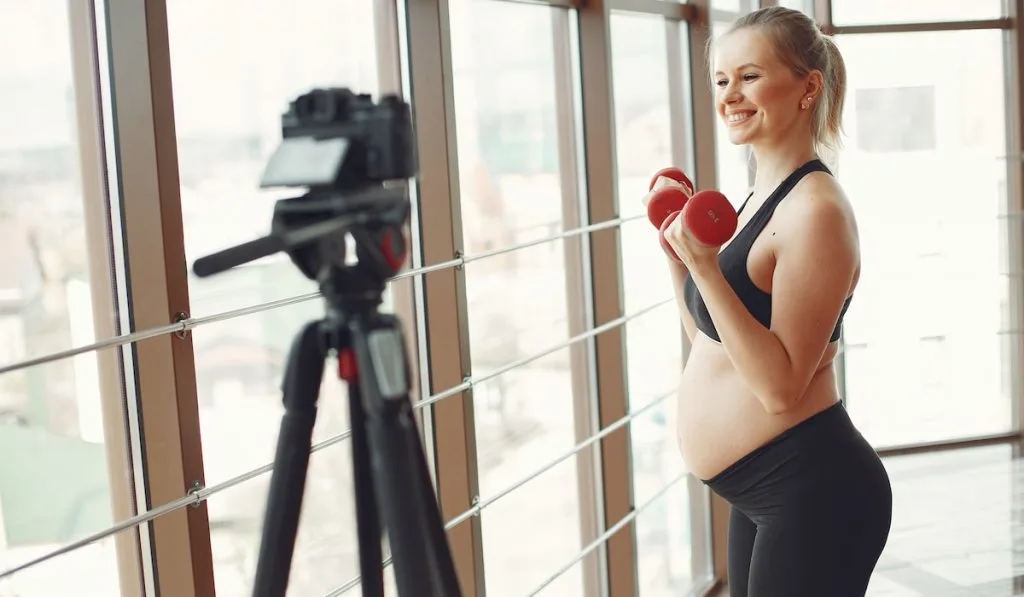
Get a Tripod With a Wireless Remote
A tripod with a wireless remote comes in handy when you are home alone and have no one to take your photos. Investing in a ring light is also helpful if you plan on shooting indoors and don’t have enough natural light.
If you opt for the ring light, it can also act as a tripod, and you’ll only need the remote. Ensure that you get a ring light that fits in the area you plan to shoot in.
Utilize iPhone Camera Features
Features like the portrait mode allow you to capture quality shots that don’t require too much editing. Understand how the self-timer setting on your iPhone works.
For example, iPhone 11 has an option of a 3-second or 10-second timer. Once you press the shutter button, get into place and view the image you plan to capture.
Note that the self-timer feature can be challenging when adjusting your focus. In this case, you should opt for the remote shutter release. The remote shutter release allows you to get in the frame. Once you press the button, the camera will self-focus and the shutter will immediately release once everything is in focus.
You can also adjust the shutter speed and switch to Pro mode. Experiment with different contrast and exposure to find the right settings.
Final Thoughts
When planning a DIY maternity photoshoot, you need to get your iPhone and tripod ready, pick the right time of day, plan your location and have different poses in mind.
Don’t be afraid to take as many photos as you wish and give yourself time as the shot may take longer than expected.
Finally, remember to have fun and experiment with different lighting options, angles, and positions until you achieve the perfect shot.
Resources
- https://www.parents.com/pregnancy/everything-pregnancy/yes-you-can-diy-your-birth-or-maternity-shoot-during-social-distancing-with-the-help-of-a-photographer/
- https://iphonephotographyschool.com/portraits/
- https://digital-photography-school.com/5-keys-to-taking-beautiful-maternity-portraits/
- https://www.instructables.com/DIY-Pregnancy-Silhouette-Photo-With-Your-Phone/
- https://www.babycenter.com/pregnancy/your-life/maternity-picture-ideas_40008016
- https://capturethelightphoto.co.uk/diy-maternity-photographs/
- https://community.whattoexpect.com/forums/september-2017-babies/topic/maternity-photos–using-an-iphone.html